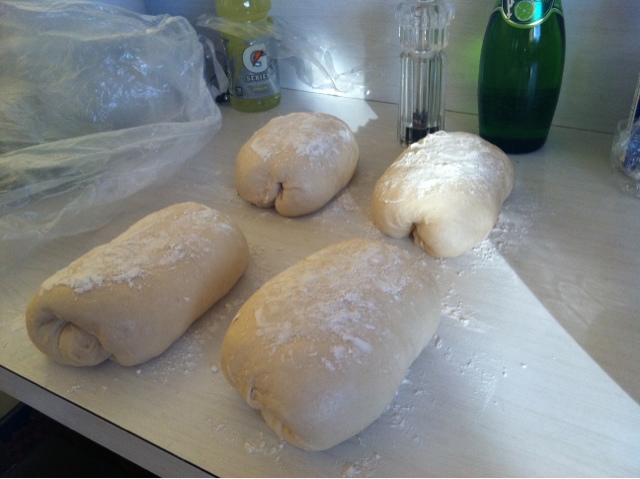
This is the bread recipe that I have been baking with my mother for as long as I can remember. After a lot of practice, not to mention a year and a half of culinary school, I have mastered how to get it almost as good as she used to :). Mom, here's to you!
Equipment required:
- Stand mixer with dough hook (KitchenAid, Bosch etc. I use KitchenAid's industrial 6qt 600 Professional series. If using a version with a motor under 575 watts, you may want to halve this recipe as it's a large and tough one)
- Between 4 and 5 1lb. loaf pans or 3 1.5lb pans and 4 mini loaf pans
- Large bowl (any material will do)
- Dough divider/Bench knife (any knife will do but bench knife is preferred by me)
- 3C Warm water
- 2T Instant active dry yeast (SAF works best for me, but from the store is perfectly acceptable)
- 1/2C Granulated sugar
- 1/2C Vital wheat gluten (gluten powder): This is optional if using a very high protein content flour, or a "bread flour." I use it no matter what with fantastic results, and it can usually be purchased from your local supermarket by Bob's Red Mill products in the baking aisle
- 7-1/2C QUALITY bread flour: The flavor and quality of your loaves are determined by the flour you use almost exclusively
- 1/2 stick Butter melted (not margarine)
- 4 to 6T of sourdough starer: This is optional, but I always use to lend a slight flavor and a lot of rise power which is how I'm able to yield so many loaves while the original recipe only yields 3 one pound loaves and while not negatively affecting the flavor by making too yeasty. Once again though, totally option because my mother never used.
- 1T Salt
WHOLE WHEAT:
- Substitute approx. 70% of the flour for whole-wheat flour
- Substitute granulated sugar for brown sugar
- Optional: Add between .5 and 1 cup soaked whole wheat berries
Place all of the warm water in the mixing bowl and sprinkle the yeast on top. Wait a few minutes until you start to see evidence that the yeast is active (illustrated below) because if the water is too hot, it'll actually kill the yeast so take care to make sure that the water is neither lukewarm nor scalding but in between.
 |
| Starting to see a little activity in lower left. |
At this point, add the remaining ingredients into the mixing bowl in this order: Sugar, vital wheat gluten (gluten powder, if using), flour, starter (if using), and lastly the salt. Though you may not have known, salt is extremely detrimental to the fermentation/activation of yeast. In the industry we're trained to add it absolutely NO LATER than necessary in order to give the yeast a chance to activate and feed as fully as possible. While making free-formed artisan loaves, I don't add the salt until later into the process than the initial mixing stage that we're at now, but I digress.
If you happen to have a KitchenAid brand stand mixer, then upon placing all the ingredients in the bowl and fitting the dough hook, turn on to speed 2. This is the only speed we will be using as any other speed damages the motor (especially on non-industrial models! Thank goodness mine's industrial!). If using a Bosch, about medium suffices.
Allow the ingredients to come together (maybe 1-1/2 minutes) before giving the dough a feel to determine if adjusting the flour or water is necessary. The dough should feel slightly tacky but not overly sticky nor should it not stick at all. Add a little flour or water depending on what the dough feels like at this point. I prefer my dough to be slightly more wet than most prefer to ease the final shaping and ensure a tighter folding/shaping, but you may prefer something different. Continue mixing for another 6 or 7 minutes after your adjustment (if it was necessary) until the gluten has been properly developed (see below).
|
 |
| Just beginning to pull away from the sides of the bowl. I've already adjusted my dough at this point. |
There are several indications of proper gluten development. First, and the most reliable is the window pane test. Take a very small piece of your dough, roll it around a little in your hands while flattening into a tiny pizza shape then, while holding two corners begin stretching the piece with two other fingers (see below). If you can get it to look like the dough pictured below (or reasonably close) without tears or breakages then you know gluten strands are strong and developed properly. If not, knead by hand a few times until it passes the test.
Bake loaves at 350 degrees for 25-35 minutes (for large loaves) or until the crust is a beautiful darkish golden brown (see below). Don't worry TOO much about over baking unless your crust is SERIOUSLY darker than mine. It's not an exact science and just really depends on what your tastes are.


